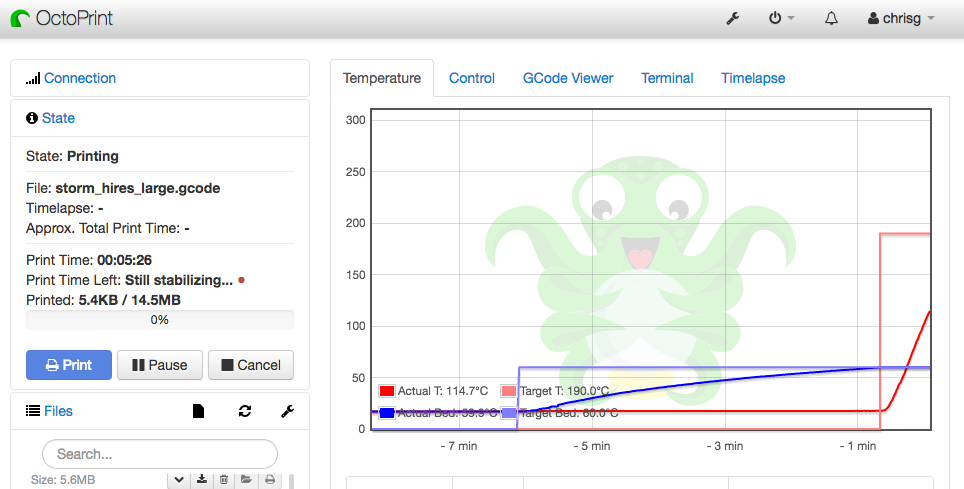
This guide shows how to install the OctoPrint print server on Raspberry Pi. The procedure is written in detail so that even a beginner can follow it. It also mentions prepared system images, so the setup does not always have to start from a fully manual installation.
OctoPrint Variants
- A headless version without a display, used as the base for the other variants.
- A version with a display and OctoScreen.
- A version with a display and OctoDash.
- A version with a display and TouchUI.
Required Hardware
| Raspberry Pi | Raspberry Pi 3B(+), or Raspberry Pi 4B. |
|---|---|
| Display | 3.5" LCD with a resistive touch layer for a local touch interface. |
| Micro SD card | Class 10 or faster, ideally 32 GB. |
| Case | A suitable Raspberry Pi case, for example the model on Thingiverse. |
Required Software
| SD Card Formatter | SD card formatting utility for Windows. |
|---|---|
| BalenaEtcher | Tool for writing images to SD cards. |
| Win32DiskImager | Alternative imaging tool that can also create backups. |
| PuTTY | SSH terminal for Raspberry Pi configuration. |
| Advanced IP Scanner | Network scanner for finding the Raspberry Pi IP address. |
| OctoPi | OctoPrint system image. The original procedure used OctoPi 0.18.0 RC2. |
This is a practical procedure tested on a specific setup. Linux distributions, Raspberry Pi images and OctoPrint versions change over time, so some screens can differ in newer versions. If you run into trouble, stay as close as possible to the tested hardware and software.
Tested Hardware
The tested setup used Raspberry Pi 3B, a 3.5" 480 x 320 px LCD connected through GPIO/SPI, and the OctoPi 0.18.0 RC2 base image.
The Raspberry Pi must be connected to the internet during installation because packages are installed online from repositories. Network access is also needed because most operations are performed remotely through a terminal. For the first setup, wired Ethernet is recommended over Wi-Fi.
1. Preparing the SD Card
The micro SD card matters. Class 10 is the minimum, but faster cards are better. A 32 GB card is a practical choice.
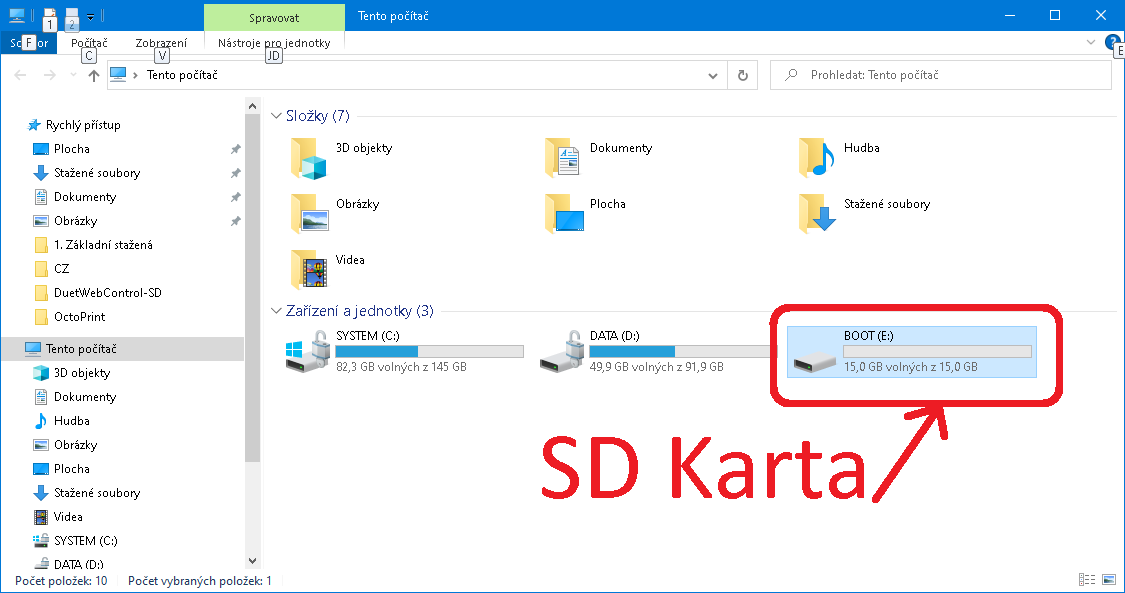
After downloading the OctoPrint image, write it to the SD card. This guide uses Win32DiskImager. Insert the SD card into a reader and wait until Windows shows it as a drive, for example BOOT (E).
Start Win32DiskImager, select 2020-12-02-octopi-buster-armhf-lite-0.18.0.img, choose the correct SD card and press Write.
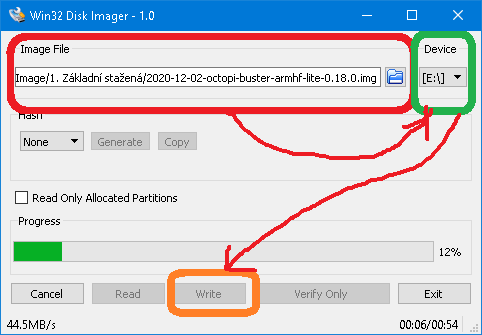
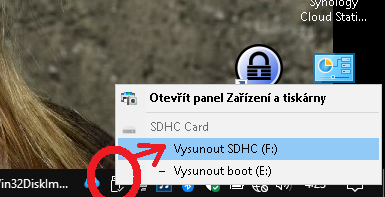
Make sure the selected drive really is the SD card. The write speed should not be below 10 MB/s. If it is slower, use a better card. After writing, Windows can show messages saying the card needs formatting. Do not format it; just close those warnings.
2. Preparing the Raspberry Pi
The Raspberry Pi should have heatsinks and preferably active cooling. A stable power supply is critical. The example setup uses a small Step-Down DC/DC converter set to 5.1 V and powered from the 3D printer supply.
If you use a 3.5" TFT display, insert it carefully into the Raspberry Pi GPIO connector. Incorrect placement can cause malfunction or damage.
Insert the SD card, connect Ethernet with internet access and power the Raspberry Pi. An HDMI monitor is optional but useful for checking the boot process. The small TFT display will not work yet.
Because the Raspberry Pi is not controlled directly with keyboard and mouse, connect remotely over SSH using PuTTY.
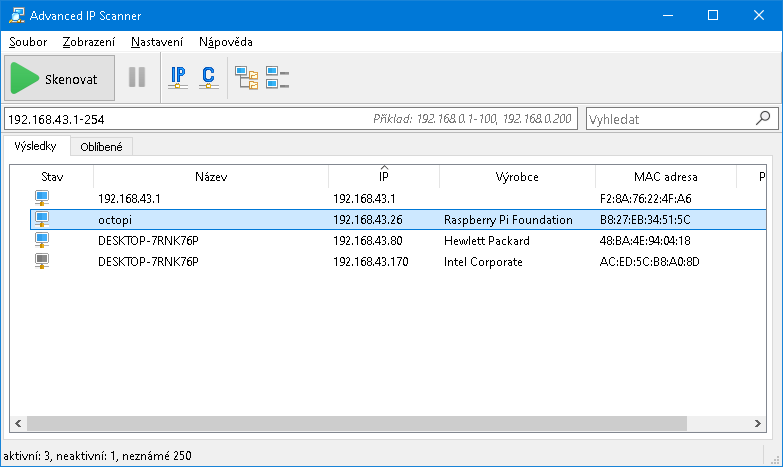
Find the IP address assigned by your DHCP server. You can use the router, the boot log on an HDMI monitor, or Advanced IP Scanner.
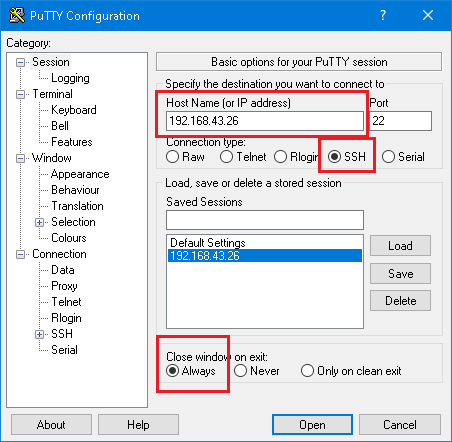
Enter the IP address into PuTTY, keep port 22, select SSH and press Open.
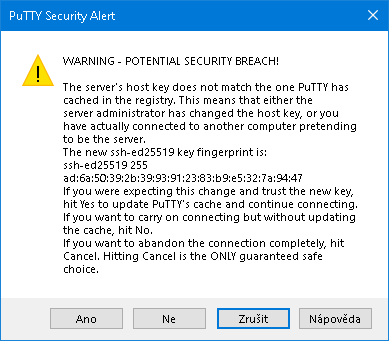
login as: pi
password: raspberry
Linux terminals do not display password characters. Type the password and press Enter.

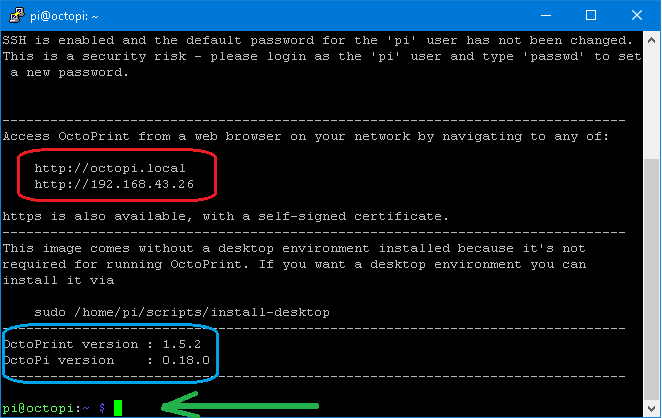
After login, note the host name http://octopi.local. It is often more convenient than an IP address because DHCP addresses can change.
If SSH does not work, create an empty SSH.TXT file in the BOOT partition of the SD card and boot the Raspberry Pi again.
sudo apt-get update
sudo apt-get upgrade
The system can ask for a password or confirmation. If it asks whether to continue, enter y.
sudo raspi-config
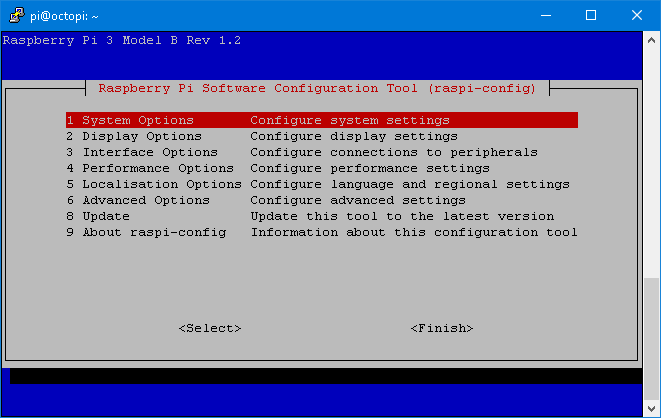
Change the pi user password in 1 System Options / S3 Password. In 5 Localisation Options, set the locale, timezone and Wi-Fi country. For Czech use, the original setup used cs_CZ.UTF-8 UTF-8, Europe / Prague and CZ Czech Republic. Also check 6 Advanced Options / A1 Expand Filesystem if you restore an image to a larger SD card.
3. Preparing OctoPrint
Open the web interface in a browser using the Raspberry Pi IP address or http://octopi.local.
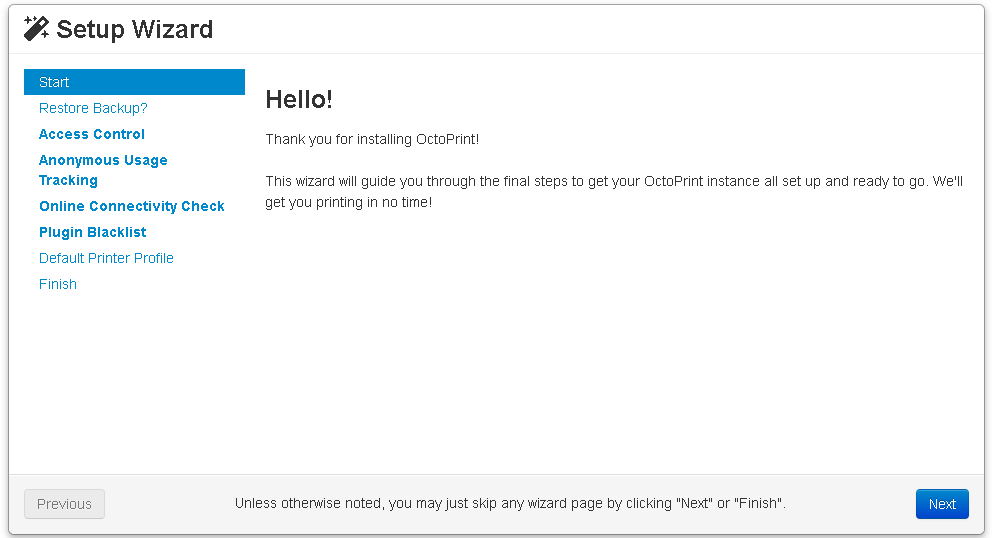
Click through the wizard. Use Next on the start screen and skip restore if you do not have a backup. In Access Control, create your OctoPrint account. The original example used Sakul.cz and octoprint, but for real use choose your own secure password.
Keep the recommended settings for usage tracking, connectivity check and plugin blacklist if they suit you. Fill in the printer profile; it can be changed later.
For a Czech interface, install a language pack through Settings / Appearance / Language Packs / Manage. Upload the ZIP file, save changes and reboot the system.
After reboot, OctoPrint can offer an update.
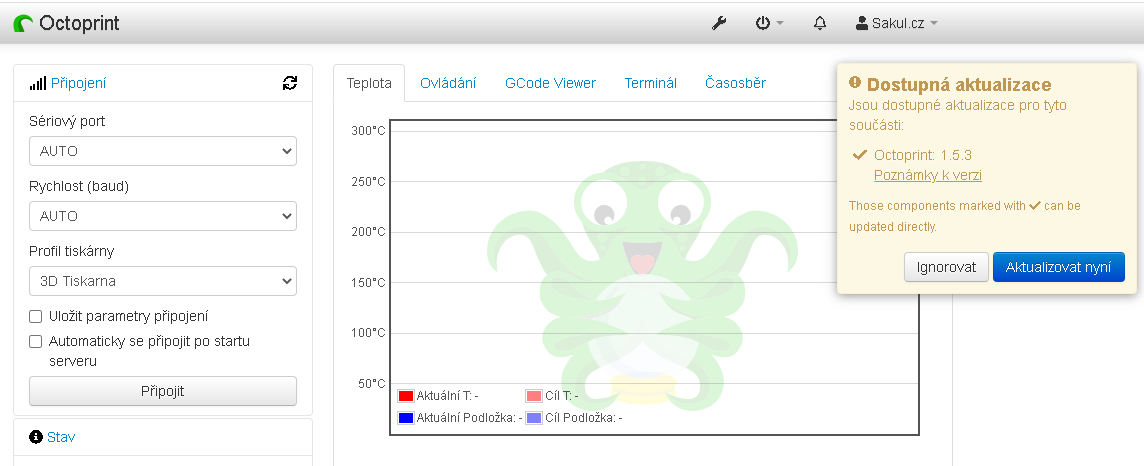
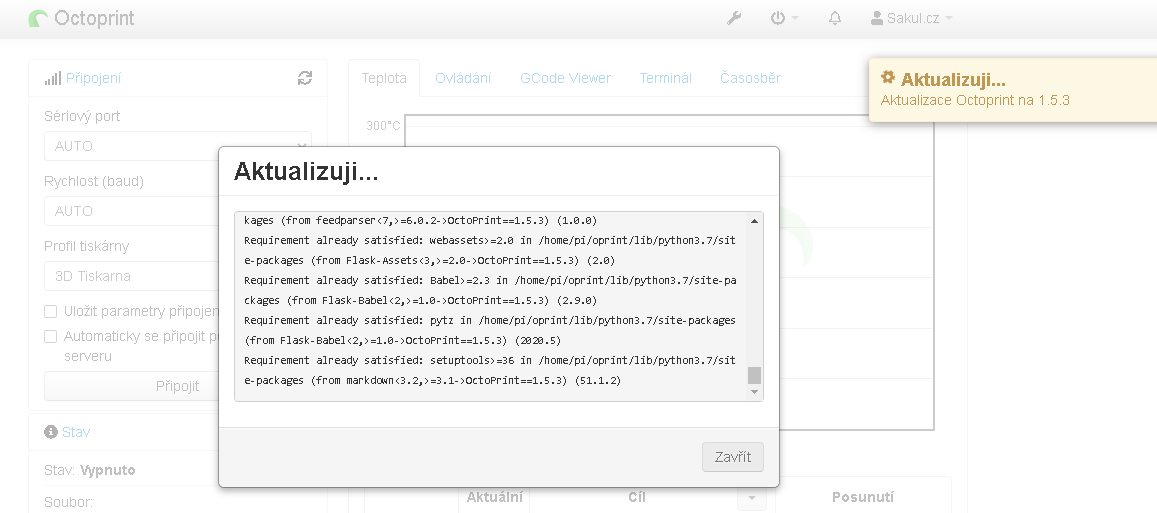
If an update fails, low Raspberry Pi supply voltage can be the cause. OctoPrint can show a lightning warning icon.

Fix power issues before continuing. Low voltage can break updates, plugin installation and server stability. Then connect the 3D printer and verify that OctoPrint can connect to it. If it works, enabling automatic connection after startup is practical.
4. Creating a System Image Backup
After the basic setup works, create a backup of the SD card. Shut down the Raspberry Pi, remove the SD card and insert it into the PC. In Win32DiskImager, choose an output file name ending with .img and press Read.
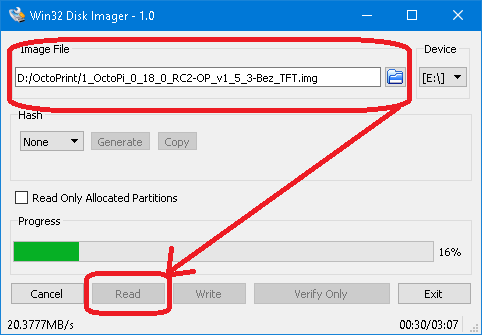
Backups are worth keeping because SD cards have limited life, especially in always-on print server setups. If you restore an image to a larger card, check that the filesystem uses the full capacity.
5. 3.5" TFT Display
The next step is bringing up the small touch display. The tested unit is a 3.5" display with 480 x 320 px resolution and a resistive touch layer.
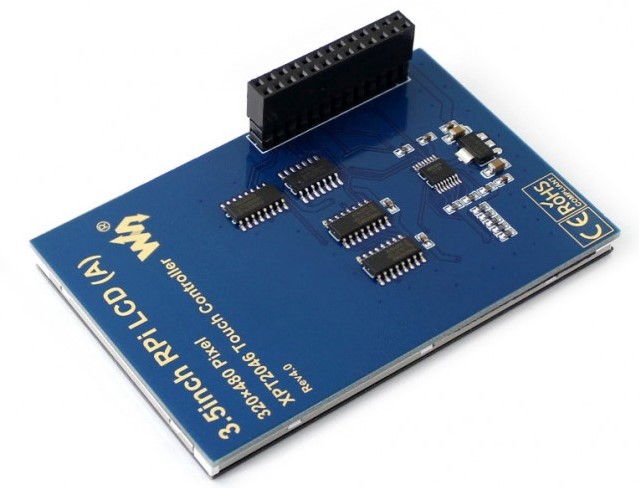
The connector layout matters. The tested display has a one-piece GPIO connector; displays with split connectors may not work with this procedure.
Full Guide
This public part covers the basic OctoPrint setup and the beginning of the TFT display section. The extended guide including prepared images is available on Patreon.